
No two FSDUs are built in quite the same way. Shelf counts and headers change from job to job, and so does the board. The problems that hold up FSDU assembly tend to repeat from one project to the next, though: a shelf that bows once it’s loaded, a rivet that won’t close because the board turned out thicker than planned, or a clip glued in late on a Friday and loaded before the glue had set.
Most of these are settled long before anyone folds a panel. This guide covers the material and component choices to make at the specification stage, then walks through a general FSDU construction sequence you can adapt to your own design. If you’re also deciding whether units should be built in store or filled before dispatch, our guide to FSDU rollout covers that side of the job.
Start with the board and the load
Corrugated board is the default material for FSDUs because it prints well, folds cleanly and goes into standard recycling. The grade you choose affects every component you fix to it.
Single-wall board keeps weight and cost down and suits lighter products. Double-wall board is stiffer and copes better with heavy stock and longer promotions, but it’s also thicker, which changes which shelf supports and fasteners will fit. Bracket Clips, for example, are made in separate versions for 3mm, 6mm and 9mm board. A rivet sized for one build-up won’t necessarily close on another.

Next, work out the filled weight of each shelf using real stock rather than empty cartons or dummy packs. It’s an easy step to skip at proof stage, and it’s the one that tells you whether a standard shelf support will do or whether you need something heavier. If the unit is going to travel filled, think about the journey as well. A shelf that holds perfectly well standing still can work loose on the back of a lorry.
Shelf depth matters too. A deep shelf puts more strain on its supports than a shallow one carrying the same weight. And if the design relies on a folded front lip for strength, that means extra board and extra folding on every shelf of every unit.
Choosing components with the build in mind
Our FSDU Components Buying Guide and FSDU Components Explained cover what each part does. The question here is how each choice affects the build itself: how quickly units go together and how well they hold once they’re full of stock.
Shelf supports
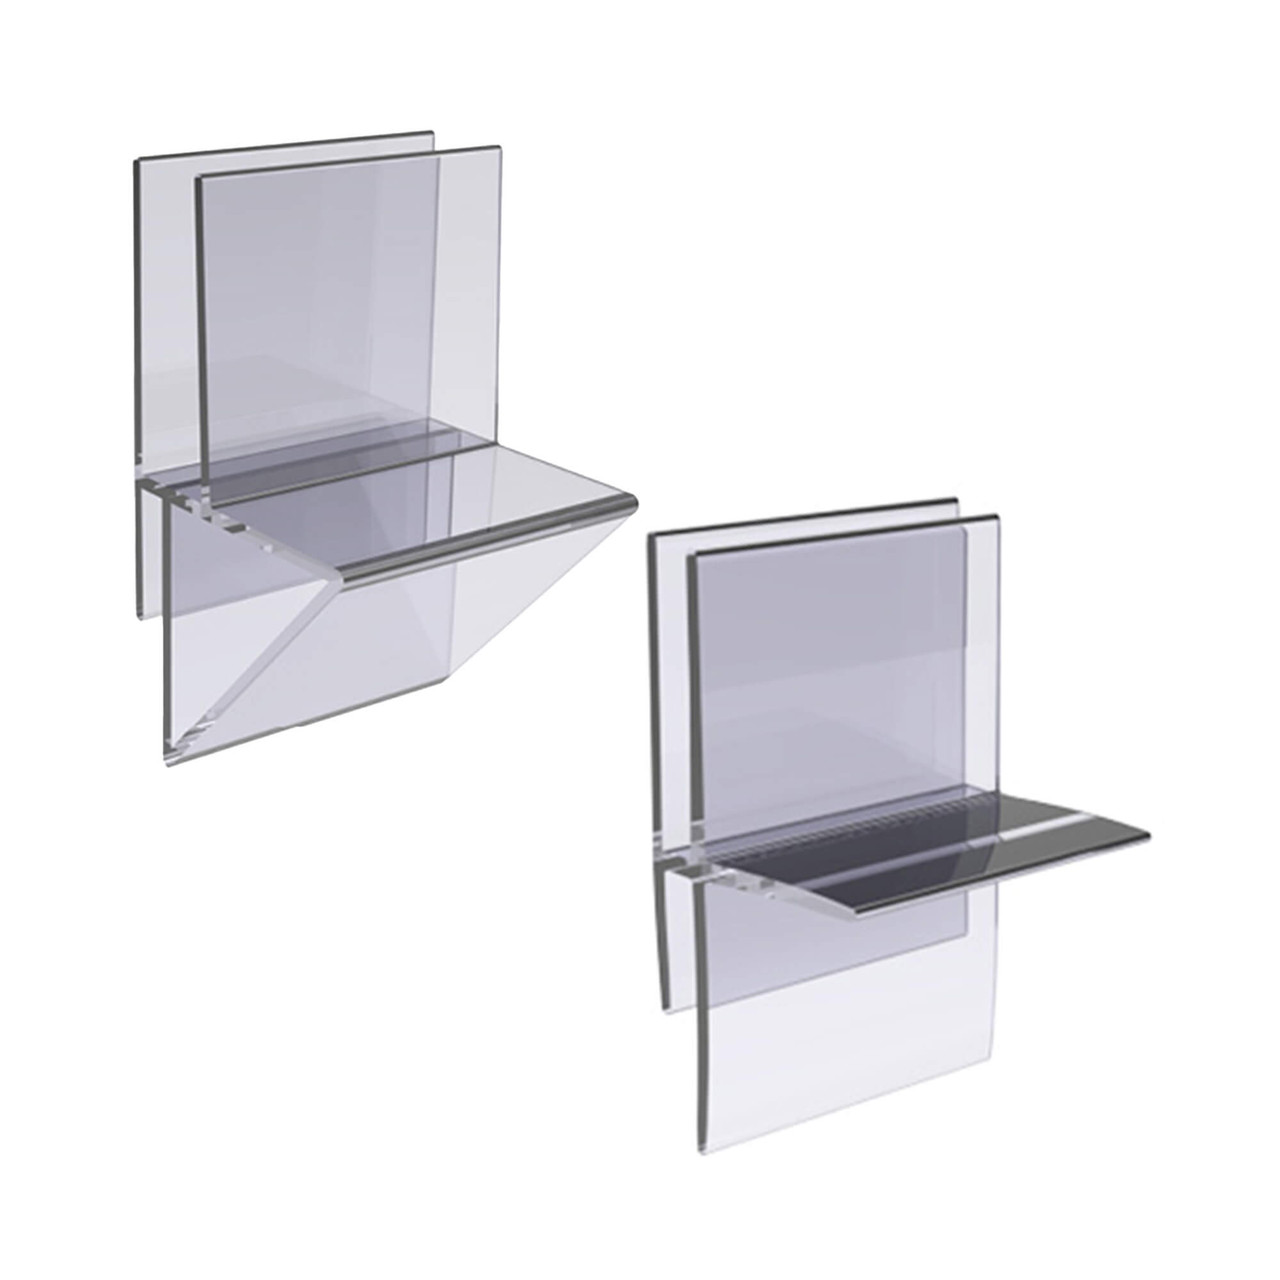
The Corr-A-Clip is the standard way to fix shelves in a corrugated unit. It’s a two-part bracket. One half pushes through the side wall, the shelf wraps around the other, and the two slide together to lock the joint. The right version depends on the load and the shelf design.
| Product | Material | Best suited to |
|---|---|---|
| Plastic Corr-A-Clips | HIPS | Everyday shelves. A top-side indicator and curved edge make fitting quicker. |
| Large Plastic Corr-A-Clips | Polypropylene | Heavy-duty shelves carrying dense or bulky stock. |
| Large Horizontal Corr-A-Clips | HIPS | Slimline shelves. Fits anywhere along the shelf edge and removes the need to build a front lip. |
| Shelf Support Clips | Polypropylene | A lower-cost option for single-wall units. |
| Bracket Clips | PVC | An alternative to the Corr-A-Clip, made to suit 3mm, 6mm or 9mm board. |
| Ecovision® Cardboard Corr-A-Clips | Natural fibre (FSC certified) | Units that need to go into a single recycling stream with the board. |
Most clips are glued in place, so allow drying time in the build schedule before any shelf takes weight. If recyclability is part of the brief, the Ecovision® Cardboard Corr-A-Clip goes into the same recycling stream as the unit itself, and it won POPAI Gold in 2025. You can compare the full range on our Corr-A-Clips & Shelf Supports page.


Fasteners
Snap rivets and plastic screws join panels, attach headers and hold together sections that need more than a tab and slot. The right choice depends on board thickness and on who will be doing the fitting.
- Snap Rivets with Collar
Push the two halves together through a 5mm hole. The collar means there’s no surplus to trim, which saves time on every joint. The standard version comes in a range of capacities, and there’s a recyclable version too. - Recyclable Snap Rivets
Made from polypropylene, with 15mm, 23mm and 38mm capacities to suit different board build-ups. - Viking Screws
The winged head of a Viking Screw gives a tight fixing across varied material thicknesses. The Rapid Fit version pushes in and unscrews, so it suits units that may need taking apart and rebuilding.
Whatever you use, check the fastener’s capacity against the total thickness of all the layers it has to pass through. Browse the full Rivets, Screws & Fasteners range for other sizes.


Hooks, price communication and base protection
These parts often get treated as finishing touches, but they’re much easier to get right at specification stage. Cliphead hooks need pre-cut slots or a panel edge, so the slots have to be on the cutter guide. Faststab hooks push straight into corrugated board, which gives you more freedom to position them on the day. Adhesive data strips and display pockets need a clean, flat area of board to stick to.
At floor level, a polypropylene mop tray cut to the unit’s footprint, or display feet that lift the base 20mm clear of the floor, protect against spills and cleaning. Put them in the component kit from the start. When they’re left for someone to source later, they usually get missed.
How to assemble a corrugated FSDU, step by step
To assemble a corrugated FSDU, check the kit against the parts list, open and square the main body, lock the base, then fit the shelves with their supports. Add the header, hooks, price strips and base protection, and check every shelf is level and secure before filling.
Every design is different, so the manufacturer’s own instructions always come first. This is the general sequence most corrugated units follow.
- Check the kit
Lay out every panel and component and count them against the parts list before you start. Finding a missing shelf halfway through a build costs far more time than counting up front. - Open and square the main body
Unfold the outer body and stand it upright. Make sure the corners sit square, because a twisted body makes every later step harder. - Lock the base
Fold in the base flaps and lock them, then drop in any internal base supports or plinth inserts. Push them down until they sit flat and level. - Fit the shelves
Work from the bottom shelf up. With Corr-A-Clips, push one half through the side wall, wrap the shelf around the other half, then slide the two together until they lock. - Add the header
Slot the header into the top of the unit and secure it with its tabs, or with rivets or screws if the design calls for them. - Fit hooks, price strips and pockets
Fix display hooks, adhesive data strips and pockets in the positions shown on the drawing. - Add base protection
Fit the mop tray or display feet before the unit takes any stock, while it’s still light enough to tip safely. - Run the final checks
Shelves are level, every tab is fully locked, the sides are straight and the unit stands without rocking.
Once those checks are done, fill the unit to the planogram with the heaviest stock on the lowest shelves. That keeps the centre of gravity low and takes strain off the upper supports.
Common FSDU construction mistakes
Loading before the glue has cured. It’s the most common cause of sagging shelves, and it usually happens when a build runs late. Build the drying time into the schedule rather than hoping it fits.
Fasteners chosen for the wrong thickness. A rivet that suited the prototype board may not close on the production board if the grade changed in between. Recheck capacities whenever the board spec moves.
Skipping the test build. One unit built with production components and filled with real product will show up most problems while they’re still cheap to fix. Get samples of the clips and fasteners you plan to use, and build at least one complete unit before ordering in volume.
Sending kits with no spares. A dropped rivet on a busy shop floor tends to disappear for good. A few extra fixings in each kit cost very little next to a half-built display.
FSDU assembly FAQs
Do cardboard FSDUs need tools to assemble?
Usually not. Most corrugated FSDUs go together with tabs, slots, push-fit snap rivets and Corr-A-Clips. Glue is the main exception, and shelf clips are normally glued in during manufacture rather than on site.
What holds the shelves up in a cardboard FSDU?
Shelves are usually held by Corr-A-Clips or similar shelf supports. The two-part clip locks the shelf to the side wall and spreads the load across the joint. Heavier shelves use larger polypropylene Corr-A-Clips or Bracket Clips.
How do you make an FSDU stronger?
Use double-wall board where the load needs it, choose heavy-duty shelf supports and match every fastener to the full board thickness. Keep heavy stock on the lower shelves and protect the base from moisture with a mop tray or display feet.
Can FSDU components be recycled with the unit?
Some can. Ecovision® Cardboard Corr-A-Clips go into the same recycling stream as the board, and recyclable snap rivets are made from polypropylene, which standard recycling streams accept.
Get your FSDU construction right first time
Reliable FSDU assembly starts at the specification stage. Settle the board, the load and the components first, run a test build, and the production run becomes a matter of repeating a sequence you already know works.
Browse our FSDU Construction range for shelf supports, fasteners and finishing components, or contact our team to talk through the right parts for your next project. If you’re planning how units will reach stores, read our guide to FSDU rollout next.